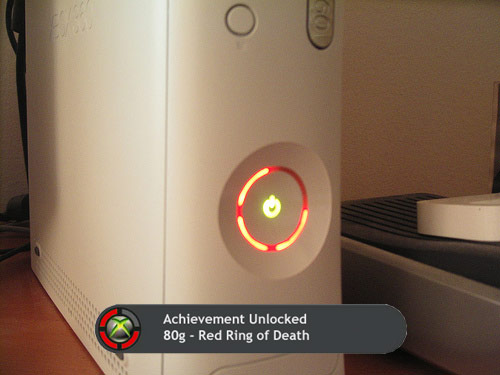
He opted to play Super Mario Galaxy on the much more reliable Wii instead, while I googled everything I could about the RROD.
It's interesting to note that Microsoft extended the warranty on the 360 to 3 years. However, I purchased my xbox used from a friend and don't have the receipt from the original purchase. Additionally, the date of manufacture shows as 11/03/2005, so warranty repair seemed like a non-option to me. Plus, I've had friends send their xbox in for warranty repair and it's taken them over a month to get them back. I'm impatient when it comes to gaming! But if you are reading this and have a xbox that is still under warranty, please consider the options carefully before breaking that silver warranty sticker! There is no going back!
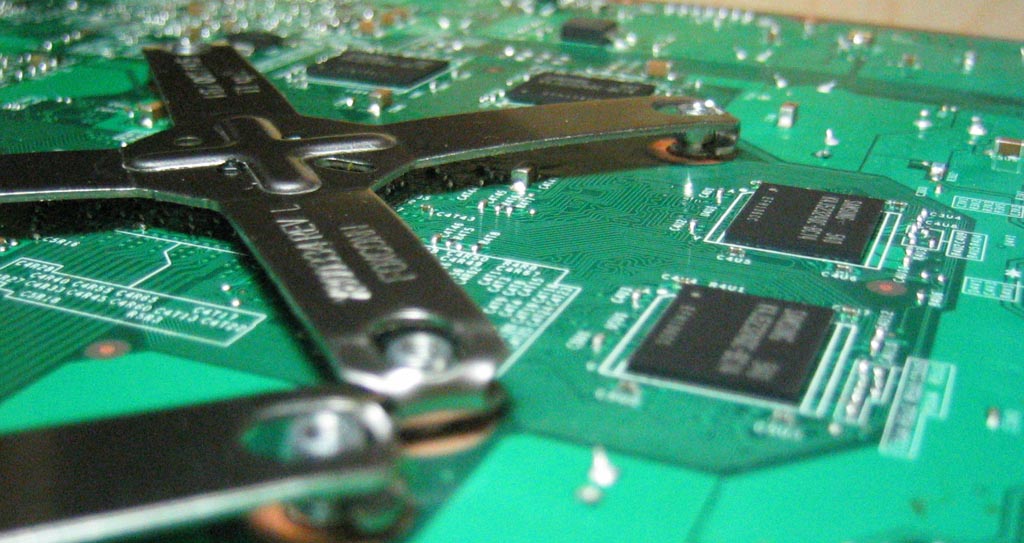
I found a guide that provided an at-home remedy for repairing the RROD. A good theory about what causes the RROD is a design flaw leading to flexing the motherboard. This warping leads to microscopic breaks in the tiny surface-mount solder connections exacerbated by numerous heat cycles. The guide directs you to fix the problem by removing the x-shaped brackets holding the heat-sinks to the CPU and GPU and replacing the mounts with screws from any old hardware store.
I thought, "Eh, why not."
So I tore down my xbox:

Getting the heat-sinks off was a pain, but persistence pays off:

The guide I was using didn't tell me this, but you'll also need a 1/4" socket or nut driver to get the posts out of the heat-sinks.
The next step was to clean off the old thermal paste from the chips so that new thermal grease could be applied:

To do this, I used left-over ArctiClean from my last project of this nature. Using the ArctiClean produced a very high-quality mirror shine from the CPU, GPU and heat-sinks:


I staged my bolts according to the guide, put the washers on the motherboard and applied the directed amount of Arctic Silver 5 (about .5 - .75 the size of a grain of rice) to the GPU right before replacing the heat-sink. I then spread the thermal paste out over the chip with the edge of an old plastic gift (credit) card:

The GPU heatsink was then applied, careful to make sure that I had all screws started before allowing the heatsink to contact the surface of the GPU. I very carefully tightened the screws until they were just snug, but evenly snug. Repeat the whole ordeal for the CPU. Here's what the bottom of the motherboard looks like now without the x-brackets:

Note the eight hex cap screws. I recommend using normal phillips machine screws if you can find them. Unfortunately, my local Home Depot didn't. This was all I could find. Originally I had washers on both sides of the motherboard, but the taller hex cap screws had major clearance problems trying to fit back in the metal case. I had to (carefully) remove each screw, remove the washers on the bottom of the motherboard and then replace the screw. I was very glad that I had only snugged the screws earlier.
According to the guide, at this point you should place the motherboard in the case, hook up the necessities and fire it up without the fans to purposely overheat the system and cause the solder to re-melt back into place. However, when I booted it up at this point, there were no more red rings!

Apparently, between the new fastenings for the heatsinks and the better thermal grease on the chips, the problem was fixed! I finished re-assembling the chassis and decided it was time for a real test. I took it back downstairs and hooked it up to the TV, re-inserted the hard disk and memory card and grabbed a controller.
I played Braid for over a half hour with no problems, though I do wonder how permanent this solution will be. If it does break down again, I'll come back and update.
8/9/2010: After 21 months the RROD have returned. I haven't actually pulled the machine apart again to check it out, but it might be worth buying a refurbished base model at this point!
5 comments:
Just wanted to say grats!
Well done! Just goes to show how the electronics skills relevant to say assembling a computer pay dividends later in other ways.
I'll take the skills of a decent computer-tinkerer over the folks at most 'repair centers' anyday, plus you get to pay yourself the repair cost ;)
I have also carried out this proceedure and can honestly say it works!!! although I have only just completed it.
Post a Comment